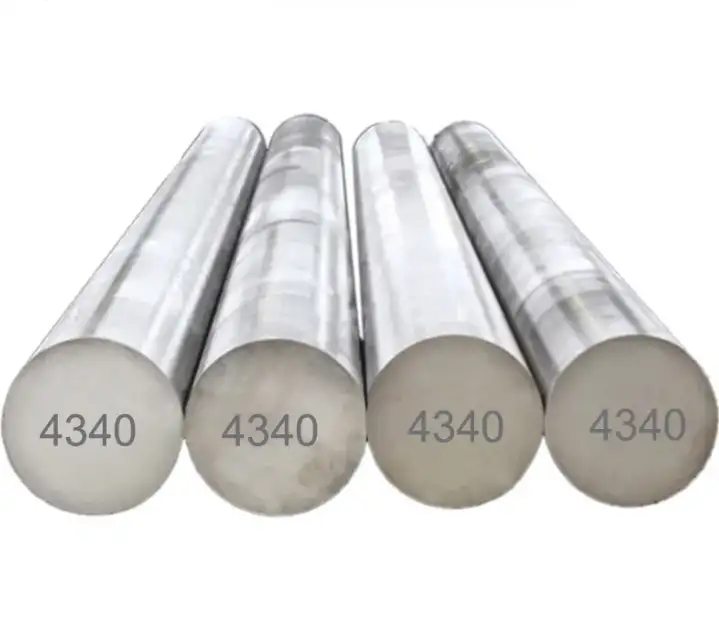
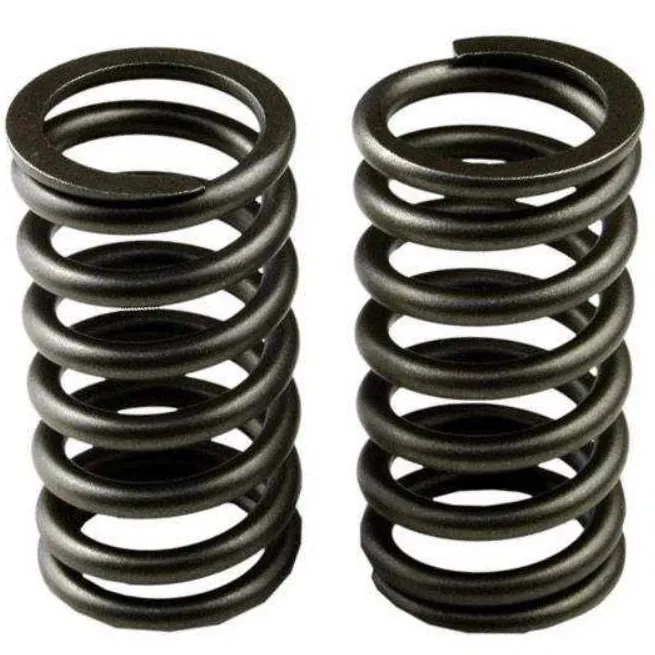
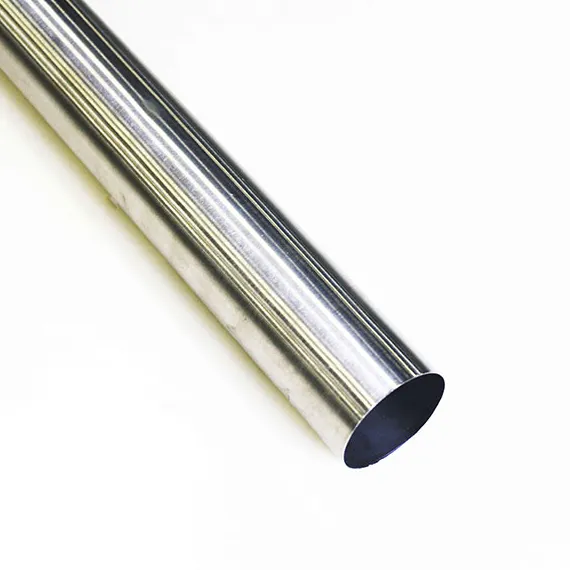
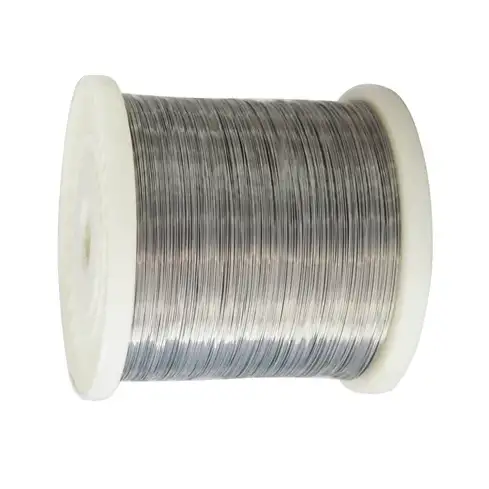
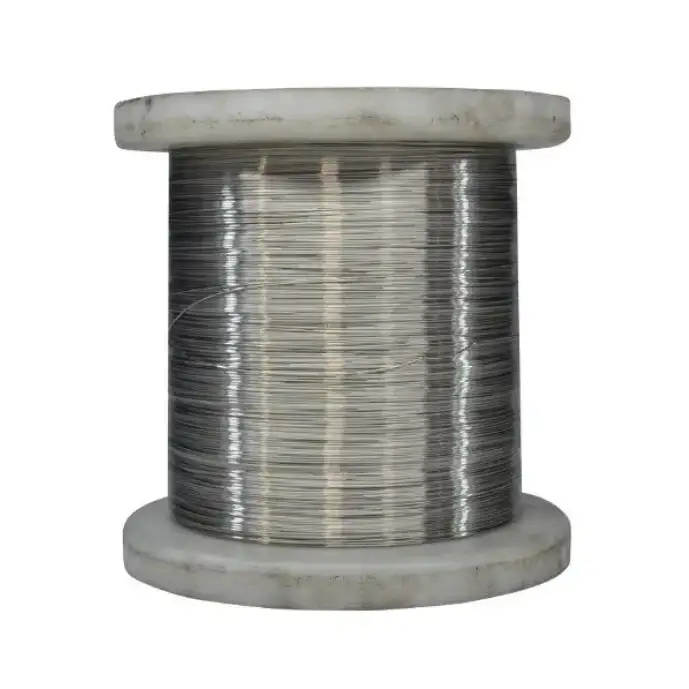
4340 RBC 30–35 round bar provides a dependable combination of high strength, ductility, fracture toughness, and deep hardenability for components that require a stable through-hardness in the Rockwell C 30–35 range. Proper quench-and-temper processing yields a balanced microstructure that gives long fatigue life and resistance to impact for parts such as shafts, pins, heavy fasteners, and aerospace landing gear links.
What is 4340 steel?
4340 is a medium-carbon, nickel-chromium-molybdenum alloy steel widely used where a high combination of strength and toughness is mandatory. When supplied in a quenched and tempered condition targeting Rockwell hardness of roughly 30–35 HBC (designated here RBC 30–35), the round bar becomes an excellent raw material for heavily loaded rotating shafts, aircraft components, heavy pins, and high-stress structural fasteners. Typical supply practices include pre-hardened and tempered rounds that meet aerospace or industrial specifications.
Chemical composition and metallurgical role of key elements
Below is a concise composition table reflecting industry typical ranges for AISI/SAE 4340 (UNS G43400 / AMS variants exist for premium product).
| Element | Typical range (%) | Primary metallurgical role |
|---|---|---|
| Carbon (C) | 0.38 – 0.43 | Increases hardness potential, contributes to strength |
| Manganese (Mn) | 0.60 – 0.80 | Improves hardenability, tensile strength |
| Silicon (Si) | 0.15 – 0.35 | Deoxidizer, contributes to strength |
| Chromium (Cr) | 0.70 – 0.90 | Hardenability, wear resistance |
| Nickel (Ni) | 1.65 – 2.00 | Toughness, fracture resistance |
| Molybdenum (Mo) | 0.20 – 0.30 | Hardenability, high-temperature strength |
| Phosphorus (P) | ≤ 0.035 (max) | Impurity control |
| Sulfur (S) | ≤ 0.040 (max) | Impurity control |
This chemistry produces deep hardenability and a tempered martensite matrix after appropriate thermal processing, which underpins the grade’s useful mechanical envelope.
Physical properties
-
Density: ~7.85 g/cm³
-
Elastic modulus (Young’s): ~200–210 GPa
-
Shear modulus: ~80 GPa
-
Thermal conductivity and expansion: values consistent with medium-carbon alloy steels; consult specific mill certs for precise design numbers.
These baseline values are suitable for engineering stress/strain calculations and finite element models when combined with heat-treatment-dependent strength inputs.
Mechanical properties by temper condition
The table summarizes representative mechanical property ranges for 4340 round bar in common conditions. Actual properties vary by supplier, heat treatment, section size, and testing method.
| Condition | Tensile strength (MPa) | Yield strength (MPa) | Elongation (%) | Typical HRC |
|---|---|---|---|---|
| Annealed | ~650–900 | ~400–700 | 15–25 | ~95 HRB (converted) |
| Normalized | ~800–1000 | ~600–800 | 12–20 | ~20–26 HRC |
| Quenched & tempered (moderate) | 900–1400 | 740–1200 | 10–18 | 28–45 HRC (depends on temper) |
| Pre-hardened (supply grade for shafts) | 930–1080 (typical) | See note | ~14 | ~28–36 HRC typical supply range |
Note: Properties depend strongly on section size and exact temper protocol. For design safety factors use supplier certified test reports.
Hardness target RBC 30–35: heat treatment schedules and expected outcomes
Producing an even 30–35 HRC across a round bar requires disciplined heat treatment. Multiple commercially proven routes exist; the summary table lists common industrial recipes.
| Stage | Typical parameters (example) | Expected result |
|---|---|---|
| Austenitize | 820–860°C (approx. 1508–1580°F), hold time 15–30 min per 25 mm | Full austenitization |
| Quench | Fast oil quench or polymer quench to <110°C | Martensitic transformation |
| Temper | 450–560°C (840–1040°F), hold 1 hr per 25 mm (minimum 1–2 hrs) | Reduction of brittleness, target 30–35 HRC achieved by selecting temp/time precisely. |
Practical note: tempering at lower temperatures (180–220°C) gives very high hardness but poor toughness; tempering at 450–650°C gives the favorable toughness/hardness balance used for RBC 30–35. For large diameter bars tempering times must scale to stock cross-section to ensure uniformity.
Manufacture, sizes, tolerances, and typical supply forms
4340 round bar is supplied in:
-
Hot-rolled rounds (long lengths, economical)
-
Cold-finished/turned rounds (tighter tolerances, better surface finish)
-
Pre-hardened and tempered rounds (specified hardness delivered)
Typical diameter range offered by mills and distributors: 6 mm up to 300 mm+ depending on mill and forging capability. Standard lengths commonly 3–6 m; cut-to-length available on demand. Tolerance classes (h9, h10, etc.) and certifications (EN 10204 3.1/3.2, mill test certificates) are standard commercial practice.
Microstructure behavior, fracture, and fatigue performance
After quench and temper, the microstructure of 4340 typically consists of tempered martensite with finely dispersed transition carbides. That structure delivers high tensile strength together with notable fracture toughness. Fatigue strength is superior when:
-
Residual surface compressive stresses are present (shot peening, induction hardening), or
-
Surface finish is good and stress concentrations are minimized.
For rotating shafts and cyclic loading, a temper in the 450–650°C band is recommended to maximize impact energy while holding hardness in the required window. Designers should request fatigue test data from the supplier for mission-critical parts.
Secondary operations: machining, welding, surface hardening, nitriding
-
Machining: Machinability rating is moderate; best performed in annealed or normalized conditions. High hardness product requires appropriate tooling, feeds, and coolant.
-
Welding: Preheat and post-weld heat treatment recommended; filler selection must account for hardenability and susceptibility to cracking. Welding through fully hardened sections is high risk without controlled procedures.
-
Surface treatments: Induction hardening, flame hardening, or nitriding augment surface wear resistance while preserving through-toughness. Nitriding can raise case hardness to Rc 60+ while leaving core toughness.
Quality control, testing, and traceability
For critical parts request:
-
Mill test certificate EN 10204 3.1/3.2
-
Hardness map (multiple Rockwell C readings across and along the bar)
-
Tensile test report and Charpy impact testing (when specified)
-
Chemical analysis report and heat / batch identification
-
Compliance to AMS/ASTM or supplier aerospace specs when required (AMS 6414, ASTM A322, ASTM A29 variants exist).
Non-destructive testing options: ultrasonic testing, magnetic particle inspection, and surface crack detection are common for high-integrity parts.
Application selection notes and engineering tips
-
Choose RBC 30–35 when the part must resist moderate wear while maintaining toughness under impact.
-
For extremely high wear requirements use a harder case plus a 30–35 HRC core, or select a higher tempered hardness if fatigue loading allows.
-
For large sections check hardenability charts and request representative test coupons from the heat treater to validate final properties.
Procurement checklist and grade equivalents
When ordering 4340 RBC 30–35 round bar include:
-
Exact chemistry or specification (e.g., AMS 6414 VAR, ASTM A322, UNS G43400)
-
Requested hardness range and measurement method (Rockwell C)
-
Section size and finish (hot-rolled vs cold-finished)
-
Required testing (Charpy, tensile, hardness map)
-
Traceability level (EN 10204 3.1/3.2)
-
Surface finish requirement, packaging, and delivery lead time
Common international equivalents: 34CrNiMo6 (EN), 1.6582 (Germany), SNCM447 (Japan); confirm mechanical and chemical equivalence with supplier.
Handling, storage, and inspection guidance
-
Store bars in dry, covered racking to prevent surface rusting.
-
Inspect incoming material for mill identification stamps, check certificates against heat numbers.
-
Perform hardness spot checks prior to machining to confirm delivered temper.
-
If material will be re-heat treated in house, verify quench medium, furnace calibration, and cooling rate control.
Table A — Typical tempering temperature vs. expected HRC (approximate; consult supplier curves)
| Tempering temp (°C) | Expected HRC (approx.) | Notes |
|---|---|---|
| 180°C | 50–55 | Very high hardness, low toughness |
| 250°C | 48–52 | High hardness, risk of temper embrittlement in some cases |
| 400°C | 36–45 | Moderate hardness, better toughness |
| 500°C | 30–38 | Good toughness/hardness balance — target band for RHC 30–35 |
| 600°C | 22–32 | Lower hardness, superior toughness |
(Values illustrative; actual results depend on alloy, quench, and section size.)
Table B — Quick comparison: 4340 RHC 30–35 vs common alternatives
| Grade | Typical HRC supply | Best use case |
|---|---|---|
| 4340 RBC 30–35 | 30–35 | Heavy shafts, pins needing through-toughness |
| EN24 / 34CrNiMo6 | 28–36 | Similar domain; may have slightly different chemical limits |
| 4140 (quenched & tempered) | 28–40 | Lower nickel; good for heavy duty but lower toughness than 4340 |
| 300M (aerospace) | 35–40+ | Higher strength, often used in aircraft landing gear, increased cost |
FAQs
-
What does “RBC 30–35” mean?
RHC indicates Rockwell hardness measured on the C scale. The numeric range 30–35 defines the target hardness band for core material. -
Can 4340 be supplied pre-hardened to 30–35 HBC?
Yes. Many mills offer pre-hardened and tempered bars that are certified to a specified Rockwell C band. -
Will 4340 at 30–35 HRC be machinable?
Machining is possible but tooling life decreases versus annealed bar. For high volume machining buy supplied bars in a softer condition, then heat treat finished parts when needed. -
Is nitriding recommended for 4340 RBC 30–35?
Nitriding is possible and will greatly increase surface hardness while leaving core toughness intact. Confirm nitride process compatibility with base temper. -
Does section size change achievable hardness?
Yes. Larger diameters harden less thoroughly. Request test coupons from the heat treater for the intended geometry. -
What tests should arrive with the shipment?
Mill chemical analysis, tensile test, hardness readings, and an EN 10204 3.1/3.2 or equivalent certificate if required. -
Can 4340 be welded without post-heat?
Welding high-hardness 4340 without preheat and post-weld heat treatment risks cracking. Use qualified procedures. -
Which industries commonly use 4340 RBC 30–35?
Aerospace, heavy machinery, oil & gas, automotive components, and mining equipment. -
What surface finishing helps fatigue life?
Shot peening, polishing, and removal of stress concentrators improve fatigue performance. -
Which standard should I quote when ordering?
Use the specific AMS or ASTM standard desired by your customer. For premium aerospace quality quote AMS 6414 (VAR) or similar; for industrial supply quote ASTM or SAE equivalents.
Engineering notes for specification writers
-
Specify hardness tolerance (+/−1–2 HBC) and method of measurement.
-
Include required testing locations and number of hardness readings per length/diameter.
-
For safety-critical components require impact testing at design temperatures.
-
Insist on mill heat number traceability and retained samples for failure investigations.
Sourcing, lead times, and cost drivers
Cost factors include: quality grade (commercial vs VAR/VAC-ARC), diameter, finish, required testing, and heat treatment complexity. Premium aerospace-grade 4340 (VAR/CEVM) commands higher price and longer lead times. Typical stock distributor lead times vary from immediate stock to 4–8 weeks for custom heat treatment and certification. twmetals.comrisingstarsteel.com

